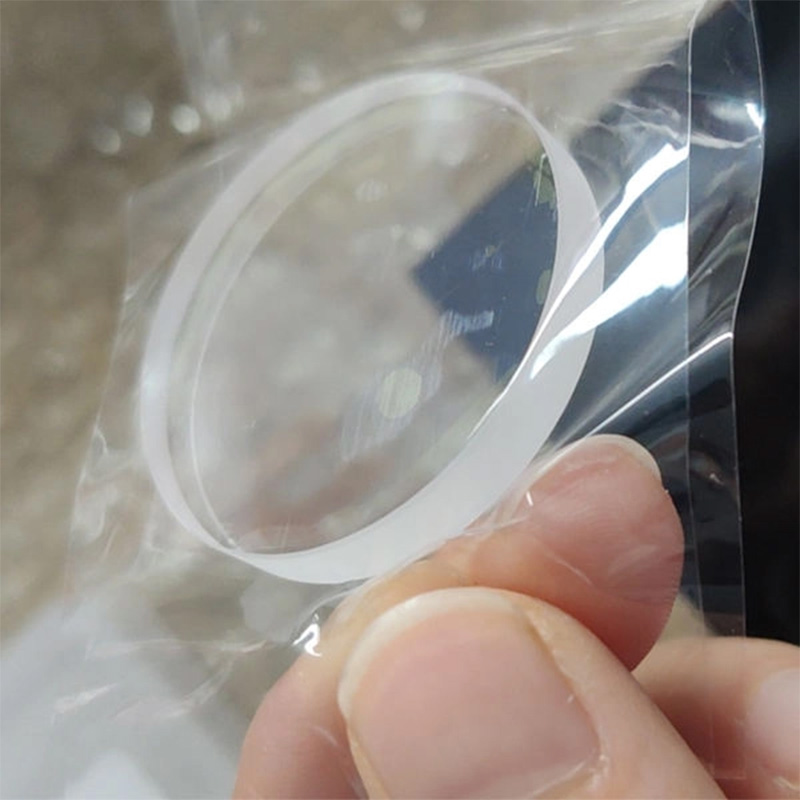
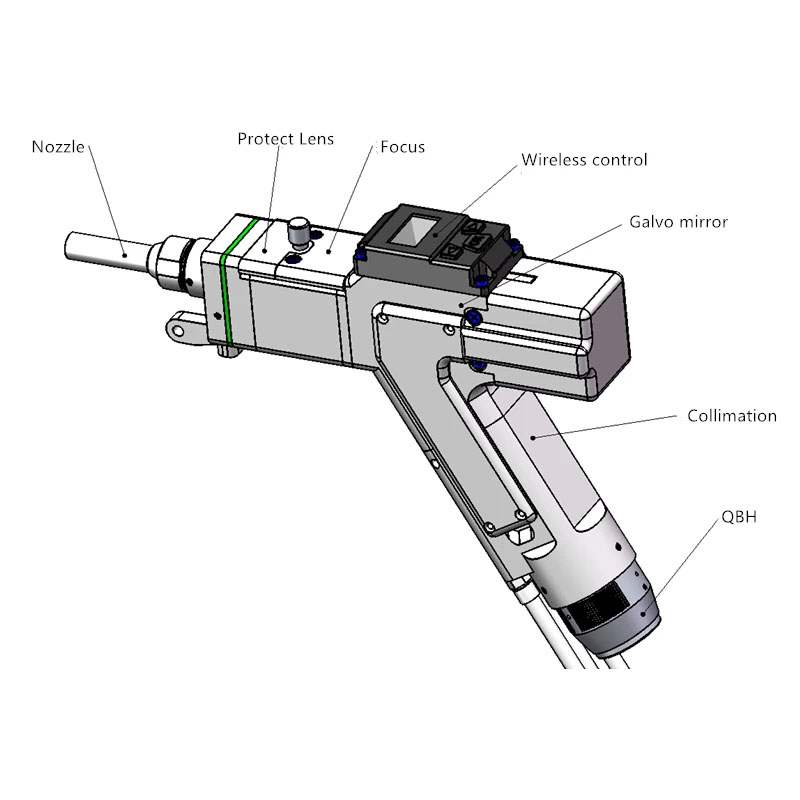
The main role of the fiber laser protective lens is to protect the focusing lens, block the splash to avoid damage to the lens, through the regular replacement of the protective lens to ensure the accuracy of the processing requirements. Once the protective lens is damaged need to be replaced immediately, do not use the laser welding machine in the case of damage to the protective lens. This article is an ultimate guide on how to replace laser protective lens and focusing lens.
A 1064nm transmittance enhancement film with a high damage threshold (> 15J/cm2) coated on the protective lens can effectively increase the transmittance of the lens, reduce energy loss and improve the quality of the processed product. It is widely used in laser cutting, laser welding machine and other laser equipment.
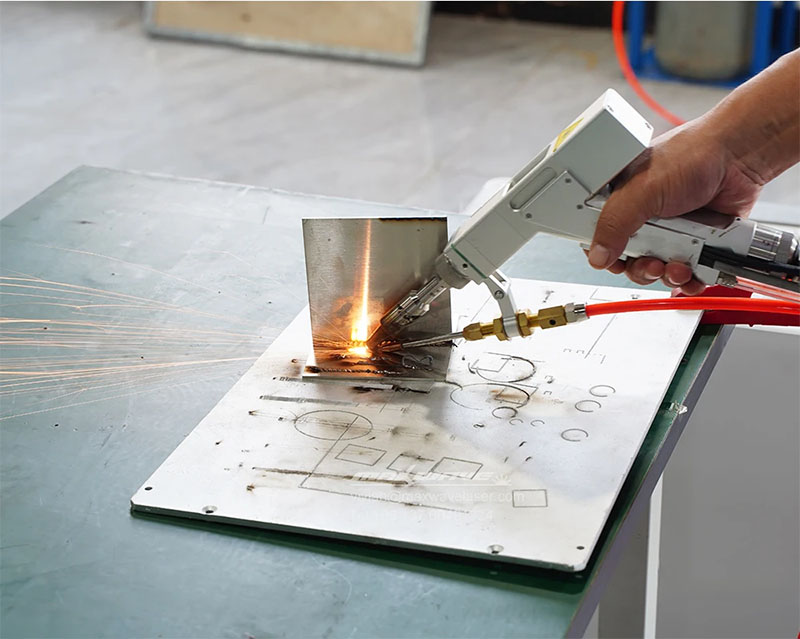
How to Replace Protective Lens for Handheld Laser Welding Machine
Cleaning:
Dampen a dust-free cloth with alcohol and gently wipe around the protective lens. The purpose of this step is to prevent dust from entering the cavity during disassembly.
Cleaning Hands:
Clean hands with soap or detergent and wear lightweight, clean white gloves. Avoid any part of the hands touching the lens. When removing the lens, handle it from the side.
Disassembly:
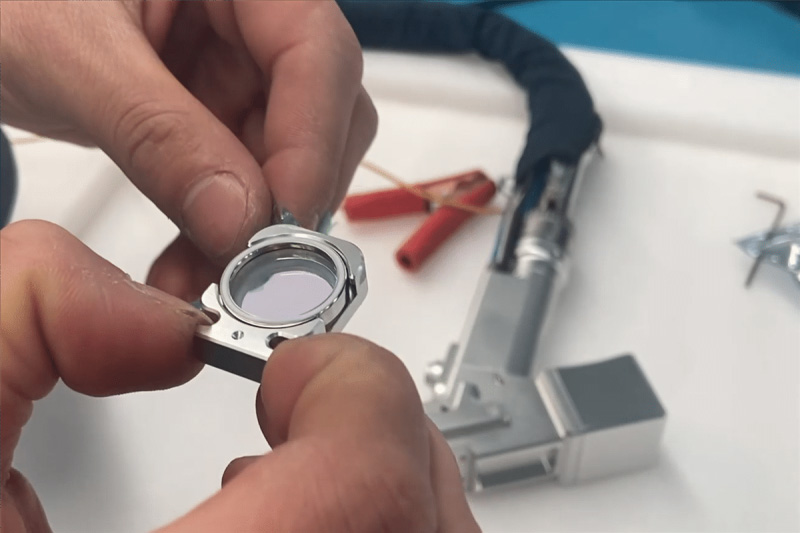
1. In a relatively dust-free environment, loosen the screws of the protective lens drawer and remove the protective lens drawer assembly.
2. Take out the lens retaining ring (with the white sliding ring facing up).
3. Remove the protective lens and replace it with a new one. The protective lens is a flat lens that can be detached by pressing it to separate it from the sealing ring. When installing the lens, place it first and then press the sealing ring tightly. If there is dust on the surface of the protective lens, use a dust-free cloth or lint-free cotton swab with a small amount of non-water-based alcohol to wipe the lens in one direction.
4. Once the lens is placed in the protective lens holder, press the lens retaining ring (with the white sliding ring facing up) onto the lens. At this point, the protective lens should be pressed into the groove of the lens retaining ring.
5. Insert the entire protective lens drawer assembly back into the handheld welding head and tighten the screws.

Why the Protective Lens Always Burns Out?
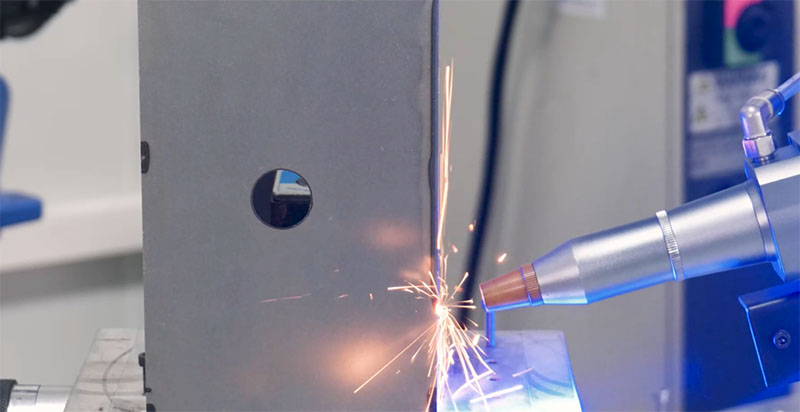
The protective lenses of laser welding machines are consumables and need to be regularly replaced. However, factors such as welding processes, welding techniques, and settings can cause damage, and anomalies in laser output from individual lasers can also lead to frequent burning of protective lenses in laser welding machines. Once the laser protective lens is damaged, work should be stopped immediately and need to replace protective lens for laser welding. Here are methods to avoid burning the protective lens:
1. Check if the auxiliary gas is pure and if the pressure meets the standards. In cases where air is used, check the quality of compressed air.
2. Check if there is any misalignment in the optical path during laser emission, ensuring that other lenses are not damaged during operation.
3. Check if the nozzle aperture is appropriate, avoiding oversized apertures.
4. Check if the air blowing timing configuration is reasonable, ensuring that the software settings are correct.
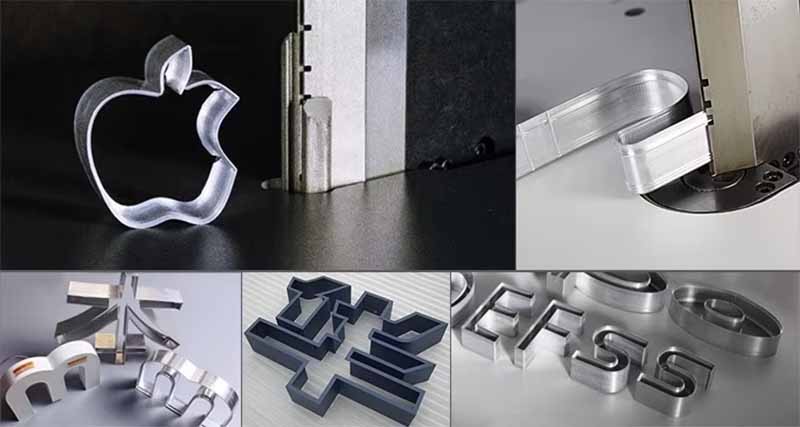
Common specifications for protective lenses in fiber laser welding machines include diameters (in mm): 50*2, 55*1.5, 78*3, 108*4, 133*5, 133.5*4, and 134*3. The wavelength for these lenses is 1064nm.
How to Reduce Laser Protection Lens Damage?
- Increase the air pressure to ensure that the flow rate is not less than 15 and the pressure is not less than 4, when using oxygen it is recommended that the pressure gauge is not less than 2 kilograms.
- When replacing the lens, pay attention to prevent contamination, after using the welding machine gun head pay attention to place the gun head in accordance with the correct operating method (nozzle placed face down).
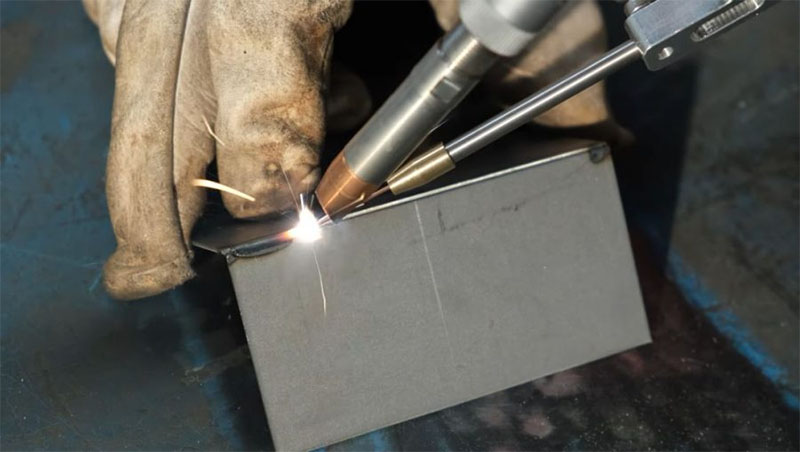
- When welding, try to make the welding gun and the plate present a 45 ° angle, avoid vertical welding, especially when welding highly reflective metal materials.
- When setting welding parameters, use a slow rise and fall strategy, such as on/off gas delay time 200-500ms, on/off light power 20%, on/off light gradual time 200-300ms.
- When welding aluminum and galvanized sheets, these materials are prone to damage to the lenses and it is recommended to use minimum power for welding.
- The quality of the protective lens affects its durability and it is recommended to purchase a high quality laser protective lens.
- Consider replacing the F200 focusing lens and lengthening the wide graduated tube to minimize spatter.
How to Know Whether Protective Lenses Are Damaged?
- The laser light is strong at first and then gradually weakens, resulting in failure to fuse or sparks at the copper nozzle.
- When using, if the laser power suddenly becomes low, the laser becomes yellow, black smoke and other phenomena
- You should promptly check whether there are foreign objects or burnt black spots on the lens. The lenses include protection lens, focusing lens, reflector and collimating lens. If there are any, they need to be replaced in time before welding.
How to Choose High-Quality Laser Welding Protective Lenses?
Pressure Resistance of the Lens
Protective lenses, during the laser process, need to withstand the impact of high-pressure gas. If the pressure resistance is insufficient, the lens is likely to rupture or even explode under the impact of high-pressure gas.
Transparency of the Lens
The transparency of a high-quality lens can reach above 90%. This means that the majority of laser rays can pass through the lens and act on the material. On the other hand, lenses with poor transparency may result in the loss of laser energy, preventing accurate action on cutting materials and potentially causing issues like slagging.
Craftsmanship of the Lens
The craftsmanship of the lens directly influences the quality of the protective lens. Lenses with exquisite craftsmanship will have smaller errors in size and thickness, allowing for better compatibility with laser fibers.
How to Clean and Install Laser Focus Lens?
Confirmation of Lens Type: Ensure that you are using the correct type of laser focusing lens to meet your application requirements.
Cleaning: Before installation, ensure that the laser focusing lens is clean, free from dust or dirt. Use specialized cleaning tools such as air blowing or cleaning cloths.
Remove the protective film from the focusing lens, place the focusing lens on your palm with the convex side facing up.
Hold the focusing tube and carefully place it over the lens, covering the entire lens. It is crucial to note that the convex side of the lens should face up, and it must not be installed upside down. Also, ensure that the lens surface is free from any stains or fingerprints. Simultaneously rotate 180 degrees clockwise with both hands.
Securing: Ensure that the laser focusing lens is securely fixed in its position to prevent any movement or shaking during use.
Focusing: Depending on specific requirements, focusing may be necessary. This involves adjusting the position of the laser focusing lens to achieve the optimal focusing effect within the working distance.
Testing: Before formal use, conduct some tests to ensure the correct installation and adjustment of the laser focusing lens. This may include checking the focus point of the laser beam and ensuring it meets expectations.

Cleaning and Maintenance of Laser Focus Lenses
Cleaning: When contamination appears on the surface of the laser focusing lens, specialized cleaning fluid or pure alcohol can be used, and a soft cotton cloth can be gently wiped. Note that hands should not touch the lens surface to avoid minor damage such as oil stains or fingerprints.
Replacement: When significant or unmovable damage occurs on the surface of the laser focusing lens, the lens must be replaced. It is essential to use a lens with the same diameter and specifications as the original when replacing the lens to avoid affecting the optical adjustment of the equipment.
1. The focusing lens material is ZnSe or Zn₃As₂, which is fragile. Handle it with care during disassembly and assembly to avoid collisions. The surface has an anti-reflective coating and is sensitive to contamination, moisture, oil, and scratches. Dry, oil-free air is required, along with recommended cleaning tools and methods.
2. Ensure sufficient air pressure during operation. Check if gas is blowing out from the nozzle by using fingers to confirm adequate air pressure.
3. Check whether the focusing lens is contaminated before starting up each day. The cleaning principle is to avoid cleaning if there is no contamination; otherwise, clean it promptly.
4. Cleaning steps, summarized and simplified, are as follows:
4.1 Loosen the fastening screws and sequentially remove the nozzle and lens tube.
4.2 Use an air-blowing bulb to remove dust from the lens surface.
4.3 If lens cleaning is necessary, use laboratory-grade soft cotton balls dipped in an appropriate amount of acetone or high-purity alcohol. Gently wipe in a clockwise direction from the center of the lens towards the edges. Clean both sides of the lens when necessary, being careful and meticulous during wiping.
4.4 Reassemble the lens tube and nozzle, adjust the focal length, and tighten the fastening screws.
5. If the focusing lens is heavily contaminated or cannot be cleaned, it needs to be replaced.
6. The focal length of a 2-inch focusing lens is around 6-7mm, and users can adjust it according to their needs.
7. Keeping the focusing lens clean is crucial to ensuring cutting and engraving capabilities and achieving the desired effects.
8. When installing laser lenses in new equipment, avoid applying excessive force to prevent damage to optical lenses.
Why Focusing Lens of the Handheld Laser Welding are Burning?
Handheld laser welding head has a lot of precision parts, among which the focusing lens is the need for special attention. We all know that the protective lens is to protect the focusing lens. If the protective lens is worn out and not replaced in time, it will burn the focusing lens. The following the reasons for the burning of the focusing lens:
1. Continuously use the welding machine without turning on the gas.
2. When welding products, pollutants splashed on the protective lens and were not replaced in time.
3. Failure to turn off the fan in time when replacing the protective lenses or replacing the lenses in the case of large fumes, resulting in dust entering them, thus leading to the focusing lens burns white spots, unfocused, weak light, etc.
4. Arbitrary placement of the gun head after use and not in accordance with the correct operating method to place the gun head (such as horizontal or upside down, the correct method should be nozzle down)
5. Handheld laser welding machine working for a long time, ignoring the state of the protective lens, even if burned out, do not pay attention to replacement, resulting in continued damage to the lens, affecting the optical path.
Finally, regular replacement and maintenance of laser welding head protective and focusing lenses not only helps to ensure the stability and reliability of your equipment, but also provides for a more accurate and efficient welding process. We have provided you with a detailed guide to replacing and maintaining laser welding protective lenses, so that you can become more comfortable with the maintenance of your laser welding machine.